Hey All,
My recent order for the Winter Raffle scored me my Phantasm V4 staff. I specifically chose this staff for the sole purpose of customizing it. I kinda went crazy on google and searched lightsaber images while waiting for the Phantasm to be delivered.
I searched the images and looked at the Jedi Temple guards staff, but it was way to much to work on. I then looked at Galen Marek's blades and was contemplating them, but then I saw Rahm Kota's saber and liked the thought of having two sabers looking like his.
I made some slight modifications to his saber and created my Kota Staff. I am still working on making some minor adjustments to the emitter to more closely resemble his saber but I'm liking what I've set up so far.
I will post all the pictures that I took while putting it together, list what materials I used, and explain any techniques used to put it together as cleanly as I could.
Please feel free to offer constructive criticism and ideas to make it better. Thanks.
Image found via Google Images (not mine):

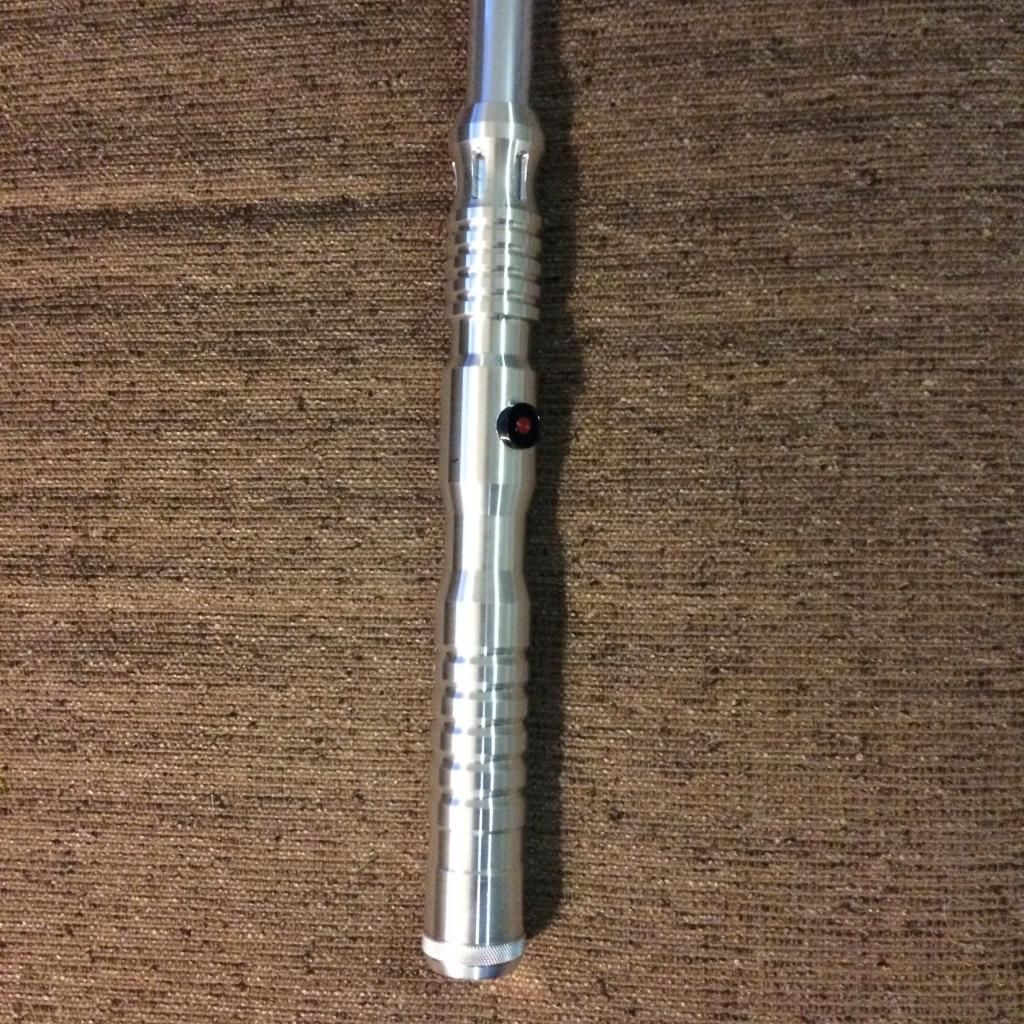
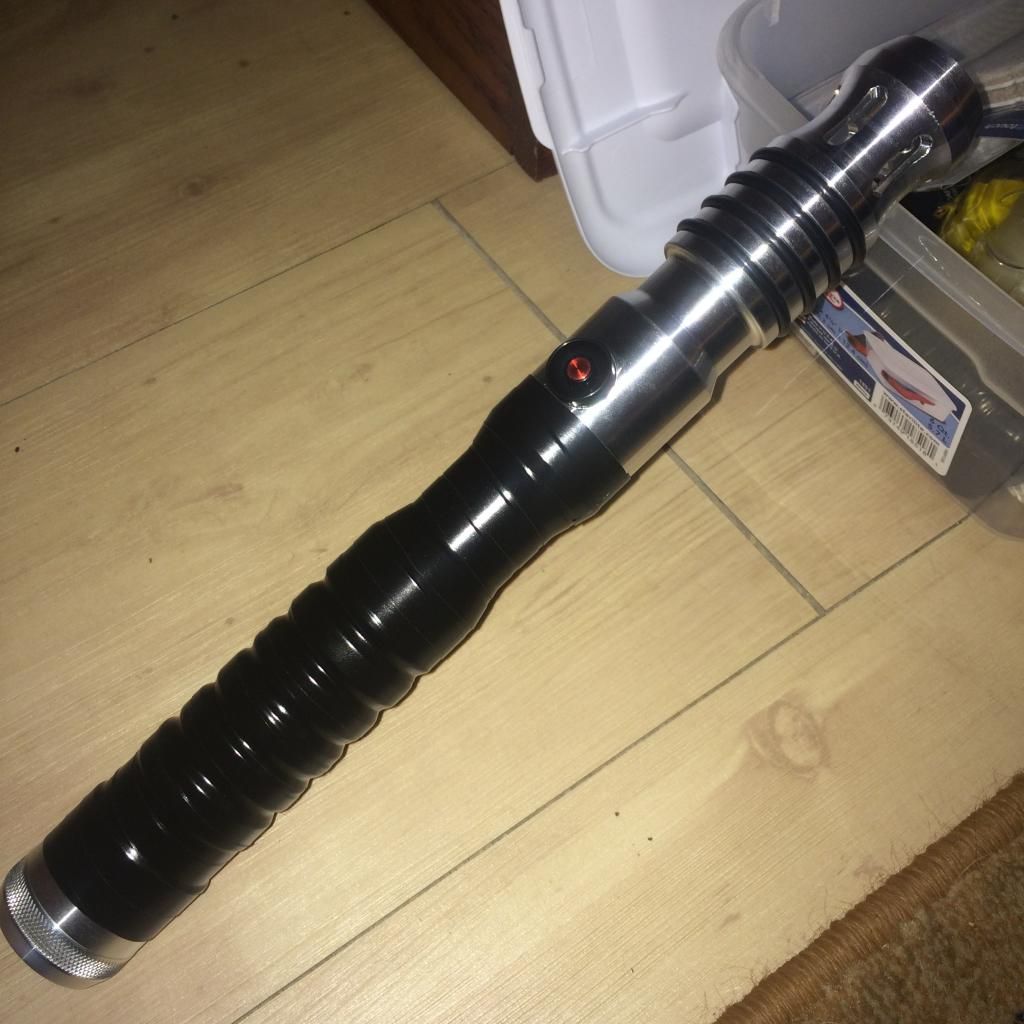
Aeon V4: I preferred it with the emitter windows prior to my customization idea, but after deciding on my idea windowless emitters might have been a better choice. I will work around it though.
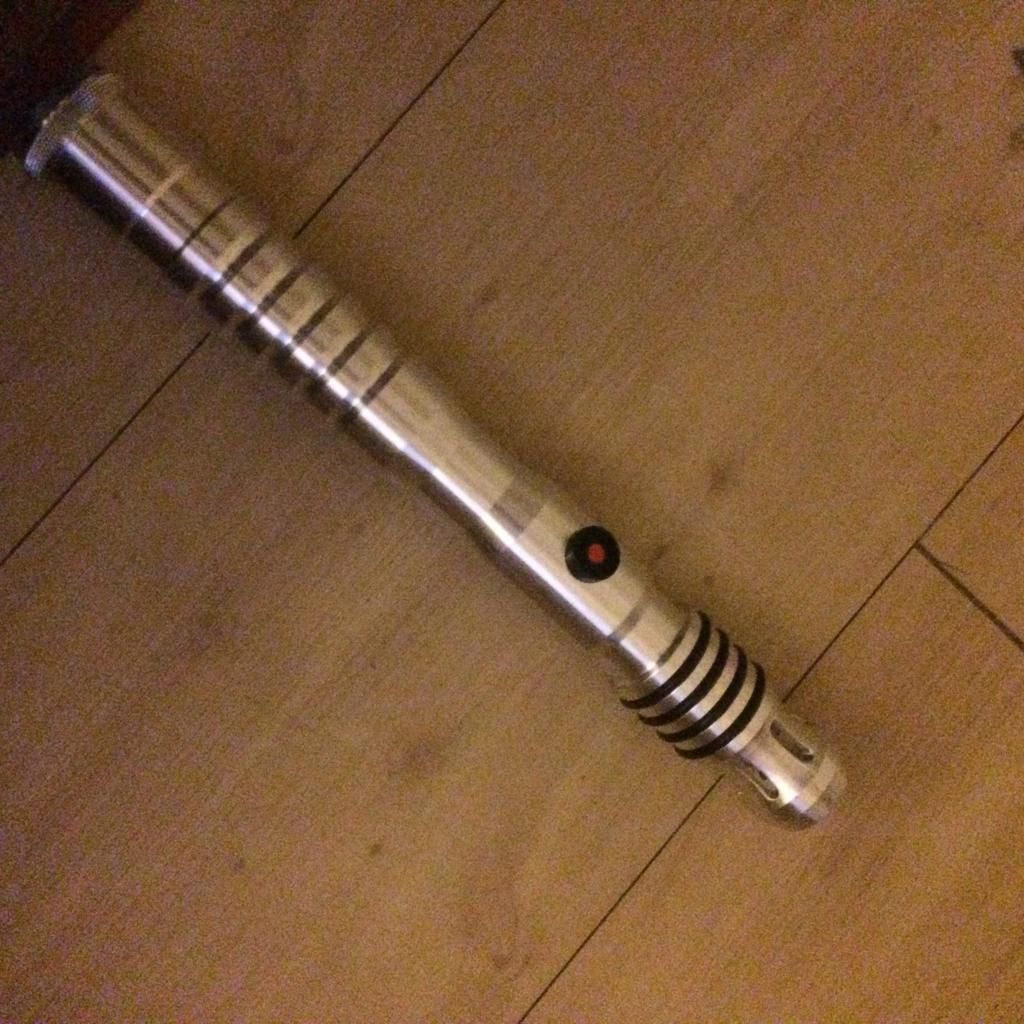
Added Some O-rings to add some grip and some color to the saber:
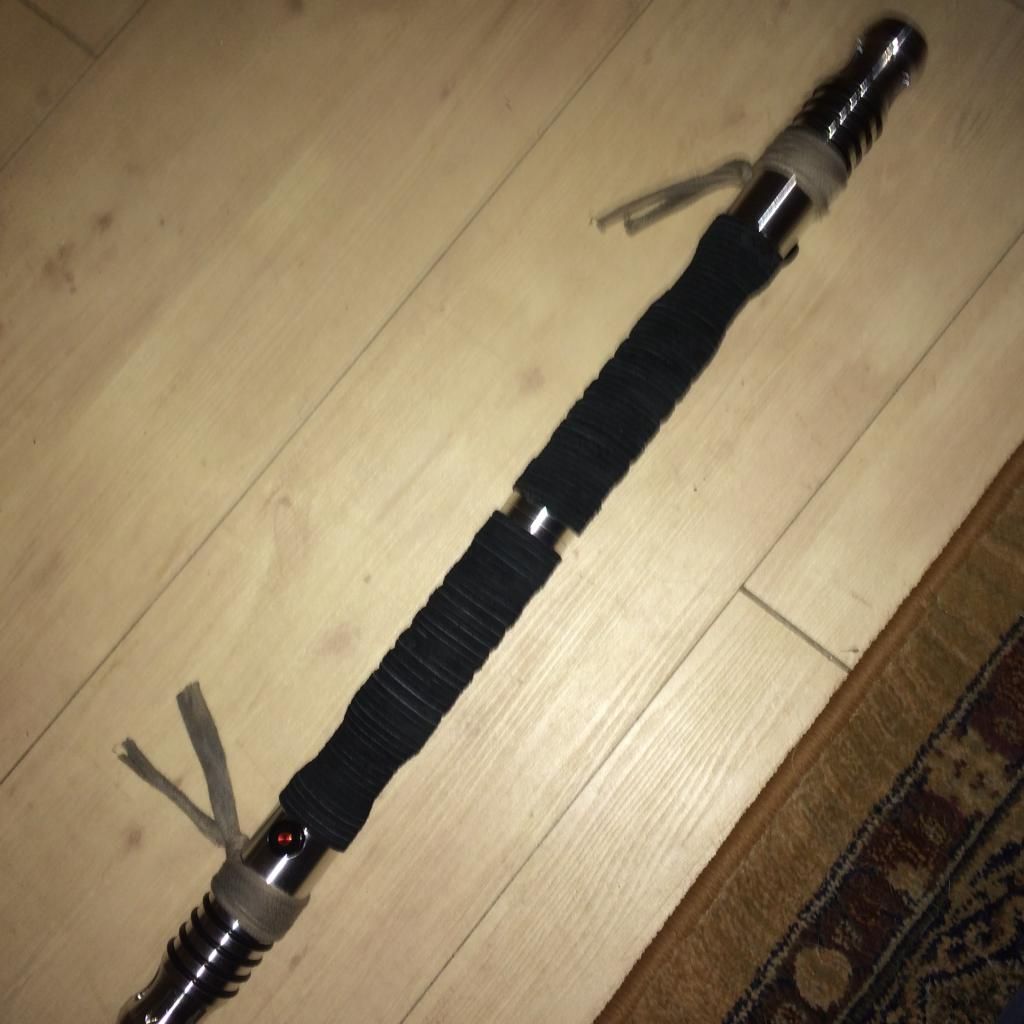
Used Electrical tape to lay out area for the leather/suede grip I used. However to allow for the suede to lay where I wanted it, i reversed the tape so the adhesive was on the outside, not against the hilt. I then began laying the black suede lace flat against the tape and slowly rolled it until I got to the activation switch. I then cut the suede at an angle and glued it with E-6000 glue, but I'm pretty sure that super glue would also work. I made sure to pull on the suede as I rolled it on to the hilt, but if your not careful and pull too hard the suede lace will break and you will have to start all over again. If you have access to thinner straps of leather I would try that route unless your patient and can contain your Hulkish strength.
I went to the automotive section and got a set of cotton drying rags, and initially put one into a pot of black tea so I could stain the rags (didn't quite work out how I wanted) so I grabbed a sharpie and started coloring it black, (seen in the picture below) Lastly my wife told me to get some brown and black shoe polish from my closet and color the strips while alternating the colors, I ended up with a gray, brown piece of fabric that I used to tie around the hilt just above the activation switch.
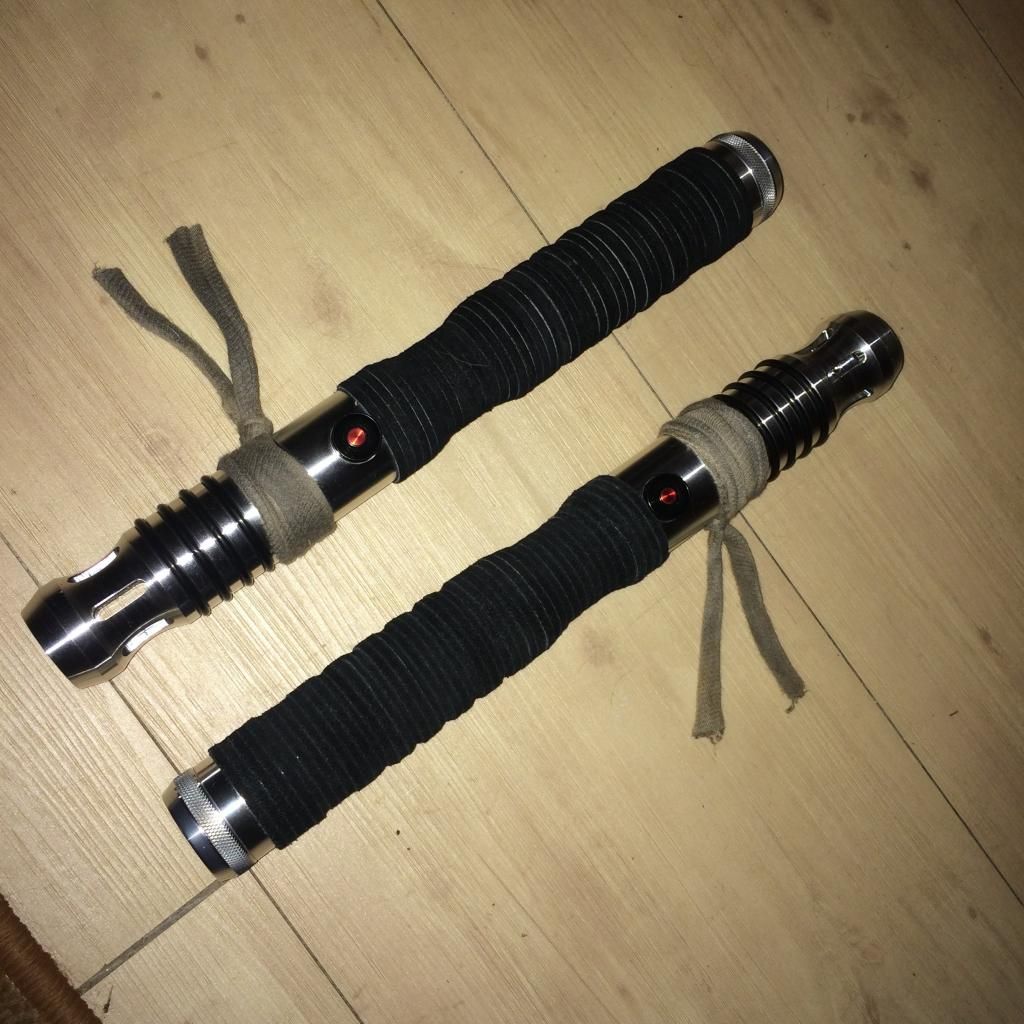
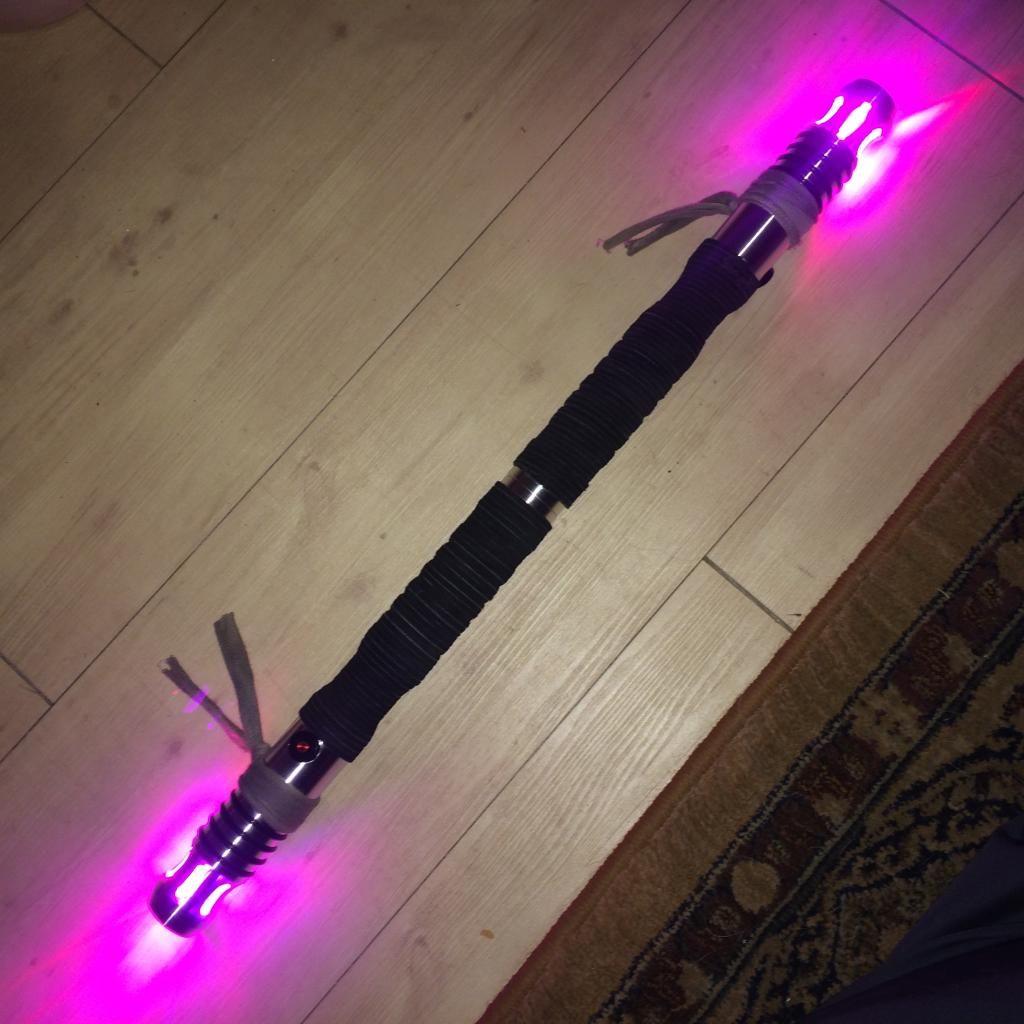
And after finishing up both sabers I put them together and got this baby. I am absolutely thrilled with how well it turned out. I will most likely make some minor tweaks here and there to pretty it up a bit more, but it handles really nice and is still quite comfortable even with the cord on the hilt.