here is some progress i have made with retro fitting the MR FX sound board into a small casing that fits snugly into the bottom of the hilt, and will be able to use the old speaker as well....
hope this sparks someones interest.. im close to getting the wiring correct, once its done ill have a Initiate V2 w/Luke RotJ sound, and SRD blade color.... this.. will be AWESOME!!!!
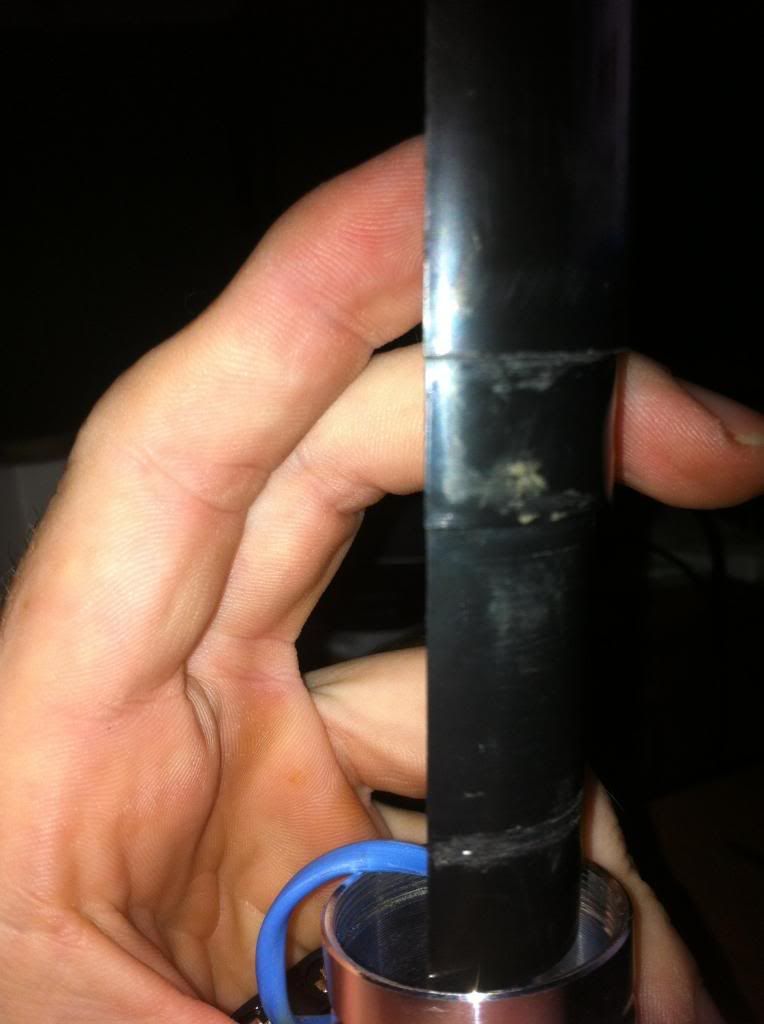
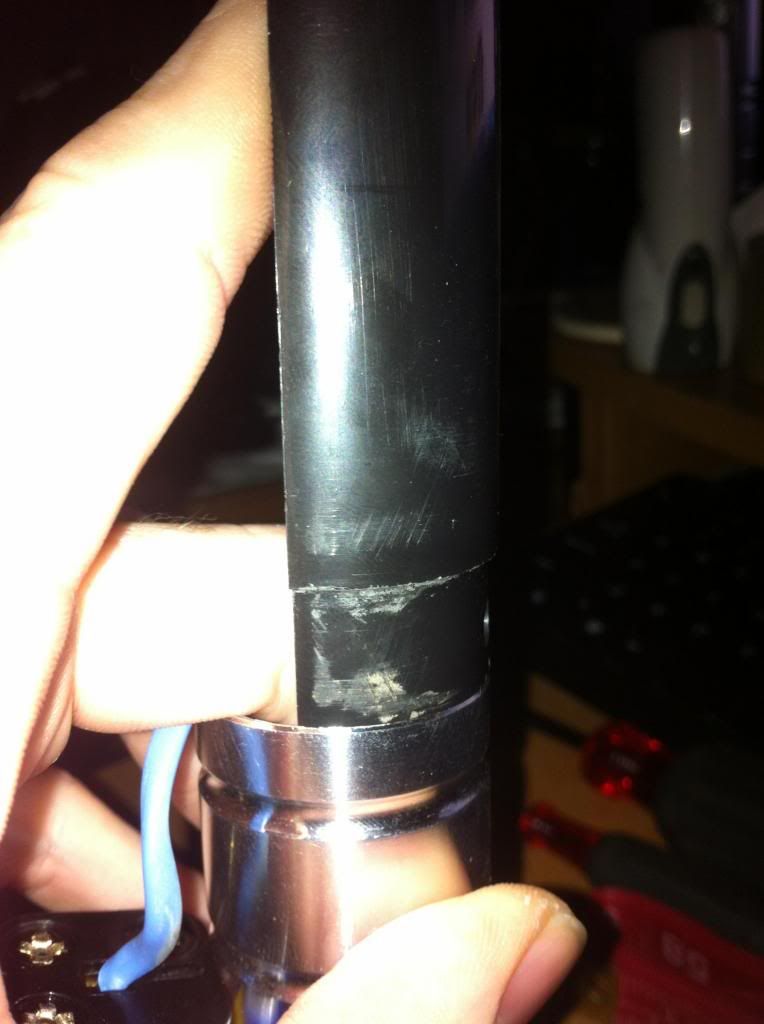
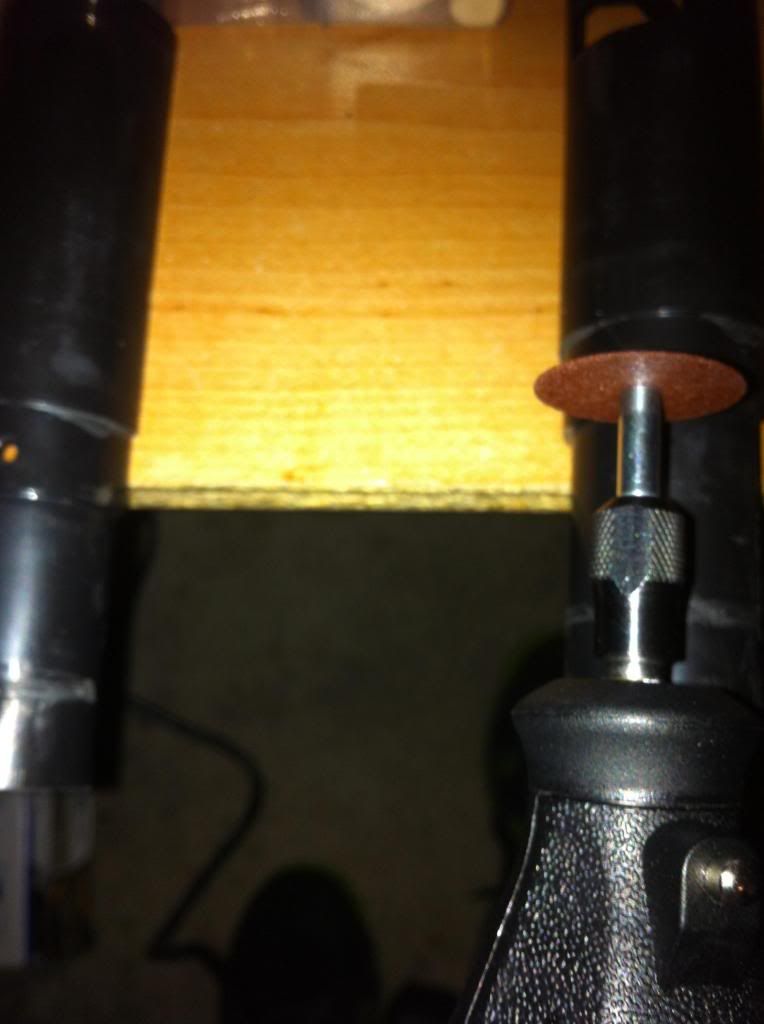
i prefit the thinnest part of the old blade holder from the luke RotJ...then cut it off from the rest of the inner electronics casing....
at this point i did some fitting with the sound board, and motion sensors.. then hot glued it in the bottom of the thin wall tube i cut .. ( you will be better off getting a piece of pipe that is the same size , so you can make a longer casing.. you will see why in the following pics.. again this is still under construction ^.^)
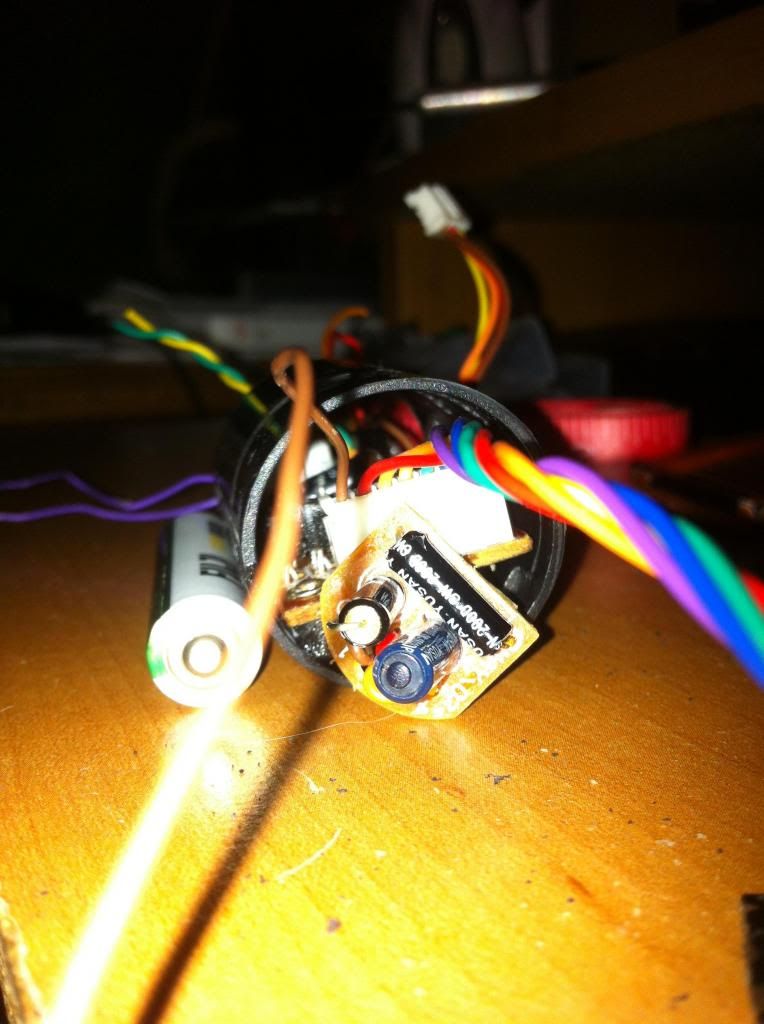
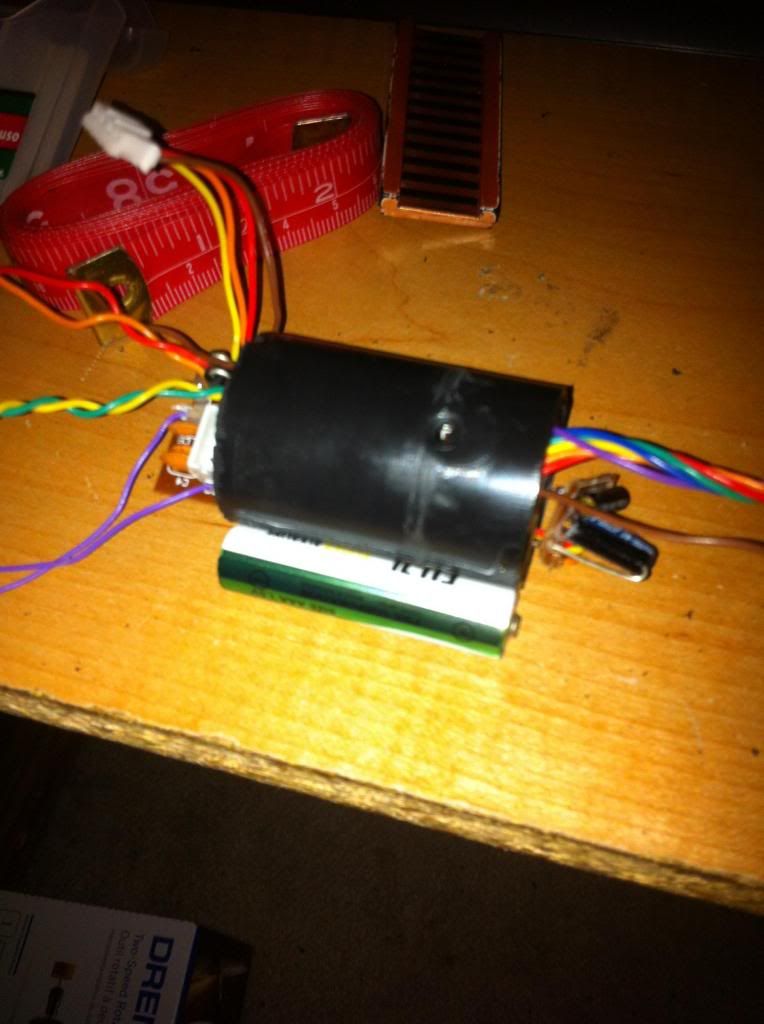
here is the unit all krazy glued as a hole for now to test fit into the saber..
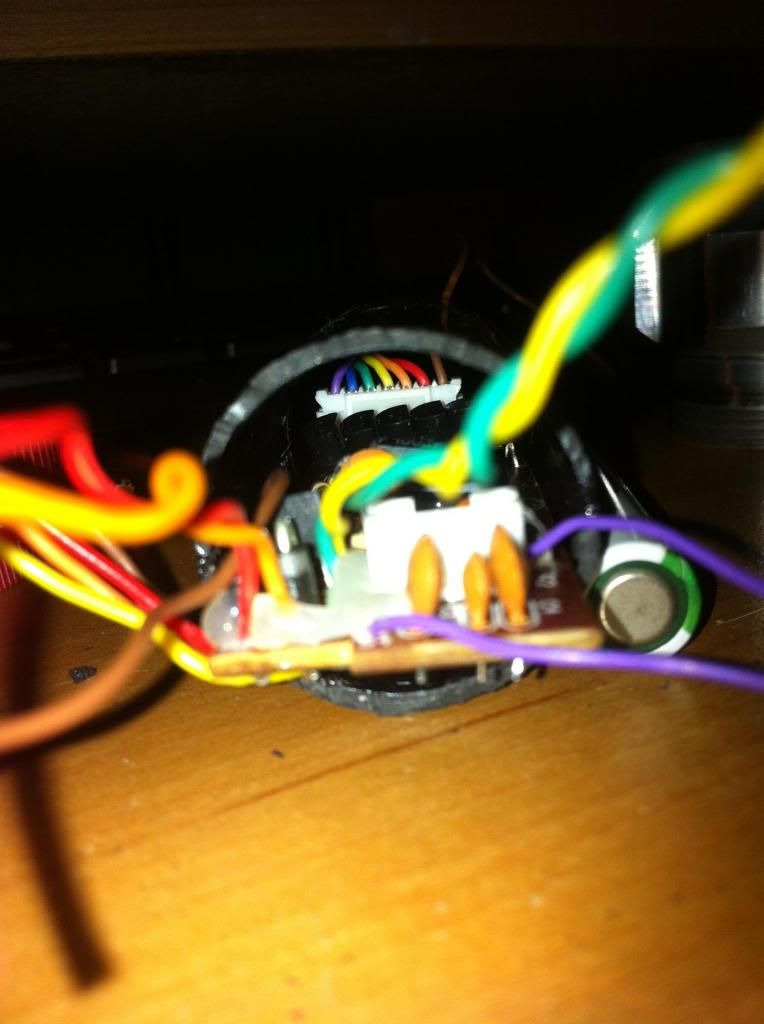
so far, i have pre fit this little thing into the initiate V2 hilt WITH speaker, and pummel in place, and with the LED, and switch removed, i can see i still have PERFECT room for the motion sensors at the top of the soundboard... .. only issue at this moment is the pummel needs vents, thus.. i will be drilling out the pummel in the coming week.. and hopefully, it turns out perfect.. the wiring to the LED from this old board will be the trickier part... and modifying a battery slot for a single AAA Li-ion battery will be the next few steps to completion.... keep tuned in for update next weekend


